By mumu
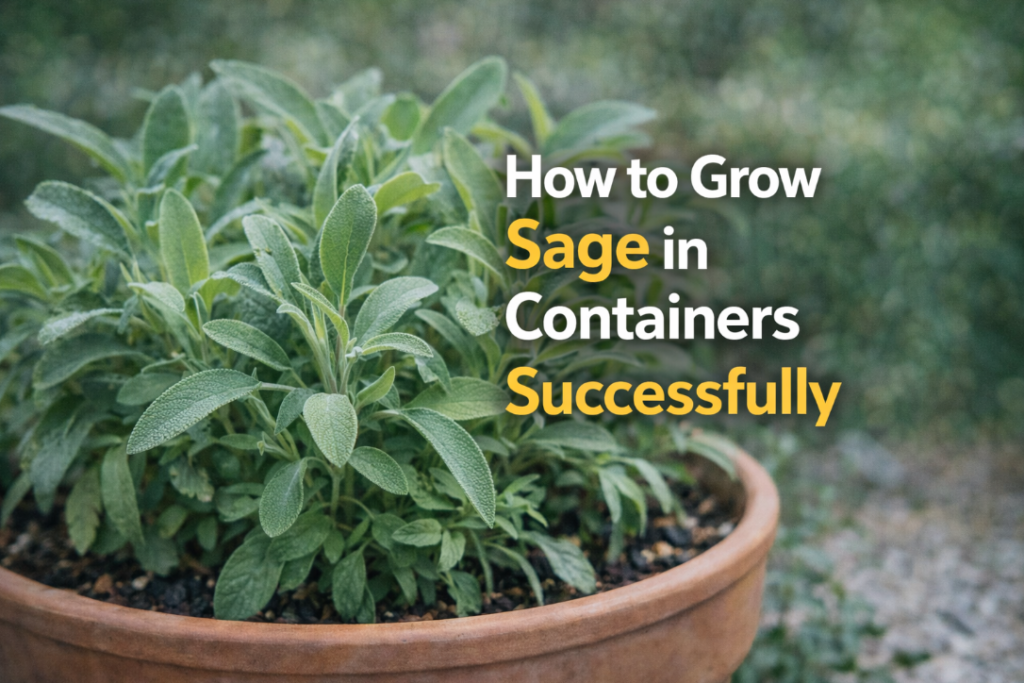
Sage is one of those herbs that genuinely earns its place in a container garden. The soft, silver-green leaves are beautiful, the purple flowers in summer attract pollinators, the fragrance is wonderful, and fresh sage in cooking — browned in butter, used in stuffing, or rubbed on chicken — is incomparably better than dried.
It’s also remarkably low maintenance once established. Here’s how to grow sage successfully in containers.
Choosing a Sage Variety
Common culinary sage (Salvia officinalis) is the standard choice for cooking, but there are several varieties worth knowing about for container growing:
- Common sage — The classic culinary variety. Gray-green leaves, strong flavor, grows 18–24 inches tall. Most widely available and most versatile.
- Purpurascens (Purple sage) — Beautiful purple-tinged leaves, good flavor. More ornamental than common sage but still excellent in the kitchen.
- Tricolor sage — Variegated leaves in green, white, and purple. Stunning in containers, milder flavor than common sage.
- Berggarten sage — Large, rounded leaves, compact growth, excellent flavor. One of the best for containers — stays bushy without getting leggy.
- Golden sage — Green and gold variegated leaves. Beautiful ornamental value, good culinary use.
For the best combination of flavor and container performance, Berggarten sage is hard to beat. For something more decorative, Purple or Tricolor sage make stunning container plants.
Container and Soil
Sage has a moderately deep root system and does best in a container that gives it room to develop. A 10–12 inch pot works well for a single plant — deeper is better than wider, as sage roots grow downward.
Like all Mediterranean herbs, drainage is everything for sage. It will rot in soggy soil. Use a gritty, fast-draining mix: roughly 50% potting mix, 30% perlite, and 20% coarse sand. Terracotta pots are ideal — their porous walls allow excess moisture to evaporate naturally.
Sage prefers a slightly alkaline to neutral soil pH of 6.0–7.0. If your potting mix is very acidic, add a small amount of garden lime.
Sun and Watering
Sage needs full sun — at least 6 hours of direct sunlight daily. In partial shade, it grows but becomes leggy and loses much of its flavor intensity. The aromatic oils that give sage its distinctive flavor are produced in response to sun and heat.
Watering is where most people go wrong with sage. It’s a Mediterranean herb that’s adapted to dry conditions — it wants to dry out between waterings, not stay constantly moist. Water only when the top 1–2 inches of soil feel completely dry. In cool weather, this might mean watering once every 10–14 days. In hot summer, every 4–5 days.
When in doubt, don’t water. Sage handles drought much better than overwatering.
| Condition | What Sage Needs |
|---|---|
| Light | Full sun — 6+ hours daily |
| Watering | Allow to dry completely between waterings |
| Soil | Fast-draining, gritty — never soggy |
| Fertilizing | Once every 4–6 weeks at half strength — less is more |
Pruning Sage for Best Results
Sage benefits significantly from regular pruning — without it, plants become leggy and woody over time, with bare lower stems and leaves only at the tips.
Spring pruning: In early spring, cut the plant back by about a third to encourage fresh, bushy growth from the base. This is the most important prune of the year.
After flowering: Once the purple flowers finish in summer, cut back the flower stalks and trim the plant lightly to maintain a compact shape.
Regular harvesting: Snipping stems for cooking counts as pruning — the more you harvest, the bushier and more productive the plant becomes.
One important rule: never cut back into old, completely woody stems with no green growth. Sage, like lavender, won’t regenerate from old wood.
Harvesting Sage
Harvest sage leaves as needed throughout the growing season. Snip stems just above a leaf node — the plant will branch from that point and produce two new stems where there was one.
The best time to harvest for flavor is just before the plant flowers — this is when essential oil concentration is at its peak. Harvest in the morning for the most aromatic leaves.
For drying, cut longer stems and hang in small bundles upside down in a warm, airy location out of direct sunlight. Dried sage is ready in 1–2 weeks. It keeps well for up to a year in an airtight jar — and homegrown dried sage is dramatically more flavorful than anything from a store.
Overwintering Container Sage
Sage is a hardy perennial — most varieties survive frost and come back year after year. In containers, the main winter risk is wet soil rather than cold temperatures.
Move containers to a sheltered spot in winter, reduce watering to an absolute minimum, and make sure the container drains freely. A light mulch over the soil surface adds some insulation for the roots in very cold climates.
In spring, prune back any winter-damaged growth and resume regular care as new growth appears.
Final Thoughts
Sage is one of the most rewarding herbs you can grow in a container — beautiful, fragrant, productive, and genuinely long-lived when given the right conditions. The same container sage plant can keep producing for 3–4 years with good care.
Full sun, fast-draining soil, restrained watering, and an annual spring prune. Get those four things right and your container sage will be a garden staple for years. 🌿
Growing sage in containers? I’d love to hear how it’s going — visit the Contact page!
— mumu, Green Garden Tips