By mumu
Most gardeners don’t think much about cleaning their pots between uses. You pull out the old plant, shake out the soil, and put something new in. It seems fine — until that new plant mysteriously fails or develops the same problem as the last one.
Old pots carry more than just dirt. They harbor fungal spores, bacteria, pest eggs, and salt deposits that can affect your next plant from day one. Cleaning and sanitizing containers takes less than 10 minutes per pot and makes a real difference to plant health. Here’s exactly how to do it.
Why Cleaning Pots Actually Matters
Used garden pots can harbor:
- Fungal spores — Including the fungi responsible for root rot, damping off, and powdery mildew
- Bacterial pathogens — That can cause wilting and stem rot in new plants
- Pest eggs and larvae — Fungus gnat eggs, spider mite eggs, and scale insects can overwinter in pot residue
- Salt deposits — White crusty buildup from fertilizers and minerals in tap water that can burn roots
- Old roots — Decomposing root material that can introduce disease to new plantings
If your last plant died from root rot, fungal disease, or a pest infestation, the pot that plant was in is almost certainly still contaminated. Reusing it without cleaning is asking for the same problem to repeat itself.
What You Need
- A stiff scrubbing brush or old toothbrush
- Dish soap or horticultural soap
- Household bleach (for sanitizing)
- White vinegar (for mineral deposits)
- A bucket or large basin
- Rubber gloves
- Water
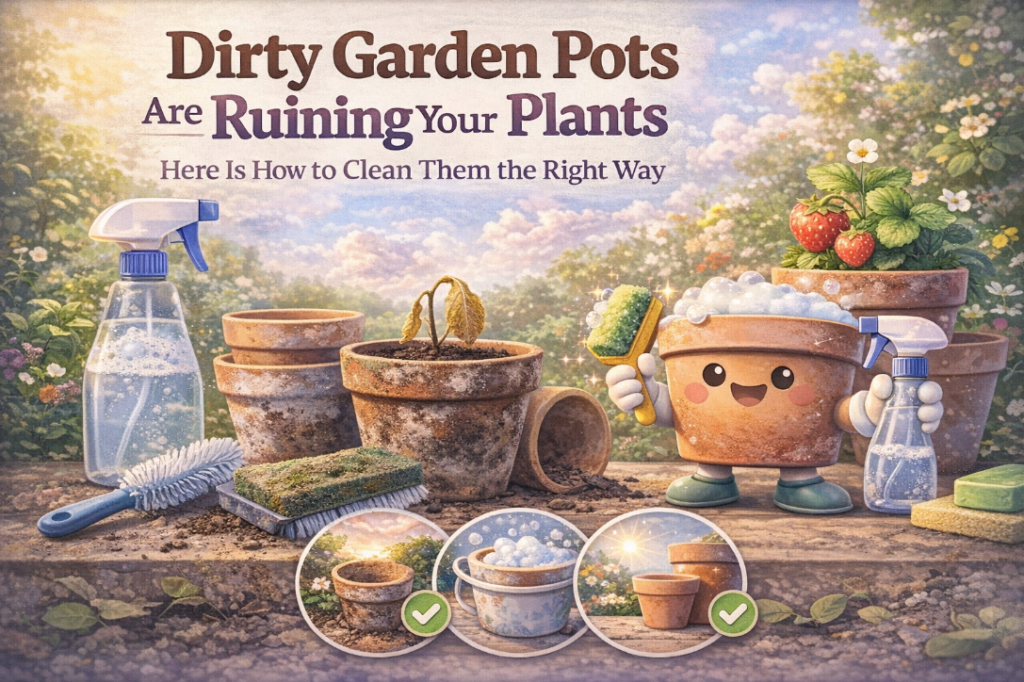
Step-by-Step: How to Clean Garden Pots
Step 1: Remove all old soil and roots. Tip out as much old potting mix as possible. Pull out any remaining roots by hand. Tap the pot to dislodge loose soil. Don’t reuse old potting mix — it’s depleted of nutrients and may carry pathogens.
Step 2: Scrub with soapy water. Fill a bucket with warm water and a good squeeze of dish soap. Use a stiff brush to scrub the inside and outside of the pot thoroughly. Pay special attention to the rim, drainage holes, and any crevices where soil accumulates. Rinse well.
Step 3: Remove mineral deposits. If there’s a white or brown crusty buildup on terracotta or ceramic pots, this is mineral salt deposits from fertilizer and tap water. Soak the affected areas with undiluted white vinegar for 20–30 minutes, then scrub with a brush. The deposits will loosen and come off. Rinse thoroughly.
Step 4: Sanitize. This step kills any remaining pathogens, fungi, and pest eggs that physical scrubbing might have missed. Make a dilute bleach solution — 1 part bleach to 9 parts water. Submerge pots completely in the solution for at least 10 minutes, or wipe down the interior thoroughly if you can’t submerge them. Wear rubber gloves.
Step 5: Rinse and dry completely. Rinse pots very thoroughly after the bleach soak — any bleach residue can harm plant roots. Allow pots to air dry completely before using. Stack them upside down in a clean, dry location.
| Step | What to Use | Why |
|---|---|---|
| Remove old soil | Hands, brush | Eliminates bulk of contaminants |
| Scrub | Dish soap + brush | Removes dirt, algae, and surface residue |
| Mineral deposits | White vinegar | Dissolves salt and calcium buildup |
| Sanitize | 1:9 bleach solution | Kills pathogens, fungi, and pest eggs |
| Rinse and dry | Clean water + air | Removes bleach residue before replanting |
Special Considerations by Pot Material
Terracotta pots are porous and absorb water, salts, and pathogens deeply into the clay. They benefit most from soaking in the bleach solution rather than just wiping down. Also soak in plain water after the bleach soak to help flush the bleach out of the clay before replanting.
Plastic pots are the easiest to clean — non-porous, so a good scrub and bleach wipe-down is usually sufficient. Check for cracks where pathogens can hide.
Wooden planters are the most challenging — wood absorbs everything and is difficult to fully sanitize. Scrub well, apply the bleach solution generously, and allow to dry completely. Consider lining with plastic sheeting before replanting.
Glazed ceramic pots clean up easily since the glaze prevents absorption. Scrub and wipe with bleach solution — done.
When to Clean Pots
- At the end of every growing season before storing
- Before replanting after any plant died from disease or pests
- Before potting up new plants purchased from a nursery
- When repotting plants that have shown signs of root rot or disease
- When you notice heavy mineral salt buildup on the pot surface
Final Thoughts
Cleaning pots isn’t glamorous, but it’s one of those preventive steps that saves a lot of frustration later. Ten minutes of cleaning before replanting can prevent weeks of trying to diagnose why a new plant is struggling with the same mysterious problems as the last one.
Make it a regular part of your seasonal container gardening routine — scrub, sanitize, rinse, dry, and your plants will be starting fresh every time. 🪴
Questions about cleaning and caring for garden pots? Visit the Contact page!
— mumu, Green Garden Tips