By mumu
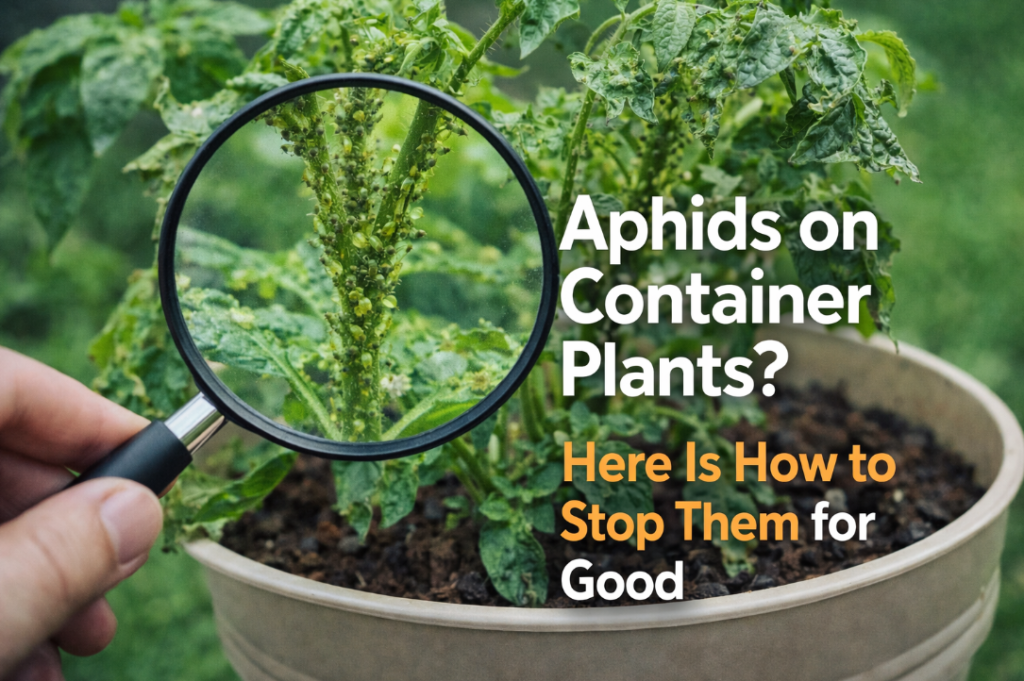
Spider mites are tiny, but they can do serious damage surprisingly quickly. By the time most people notice them, an infestation is already well established — leaves are speckled and yellowing, and if you look closely, there’s fine webbing between the stems and on the undersides of leaves.
The good news is that spider mites are very treatable, especially when caught early. Here’s how to identify them, get rid of them, and make sure they don’t come back.
How to Tell If You Have Spider Mites
Spider mites are so tiny — less than 1mm — that you often don’t see the mites themselves before you notice the damage. Here’s what to look for:
- Stippled or speckled leaves — Tiny pale or yellow dots all over the leaf surface. This is where mites have pierced the leaf to feed.
- Fine webbing — The telltale sign. Look carefully on the undersides of leaves and in the joints between stems and branches. Webbing looks like very fine, dusty silk.
- Yellowing or bronzing leaves — As damage progresses, leaves lose their green color and take on a dull, yellowish-bronze appearance.
- Tiny moving dots — If you hold a piece of white paper under a leaf and tap it, you may see tiny dots falling onto the paper and moving.
Spider mites thrive in hot, dry conditions — which is exactly what many container plants experience during summer. If your containers are in a sunny, sheltered spot and we’ve had a dry spell, check for mites regularly.
How to Treat Spider Mites
The key with spider mites is acting fast and being thorough. They reproduce extremely quickly — a female can lay hundreds of eggs in her short lifetime — so a small problem becomes a large one within days if untreated.
Step 1: Isolate affected plants immediately. Move any infested containers away from healthy plants. Spider mites spread easily, especially in warm, dry conditions where they’re active.
Step 2: Remove the worst affected leaves. Any leaf with heavy webbing or severe stippling should come off. Put them directly in a bag — don’t compost them.
Step 3: Blast with water. Take the plant to a sink or use a hose on a gentle setting and wash all leaf surfaces — especially the undersides. This physically removes a large portion of the mite population and their eggs. Repeat every 2–3 days.
Step 4: Apply a treatment. Water alone won’t fully solve the problem. Follow up with one of these:
| Treatment | How to Use | Effectiveness |
|---|---|---|
| Neem oil spray | Mix with water and a few drops of dish soap. Spray all leaf surfaces including undersides. Apply every 5–7 days. | Very good — kills mites and disrupts their life cycle |
| Insecticidal soap | Apply directly to affected areas. Must contact the mites to work. Reapply every 3–5 days. | Good — fast-acting on contact |
| Rubbing alcohol spray | Dilute 70% isopropyl alcohol 1:1 with water. Spray directly on mites. Test on one leaf first. | Good for spot treatment |
| Predatory mites | Purchase Phytoseiulus persimilis online. Release on affected plants. Natural predators that hunt spider mites. | Excellent for severe infestations |
Step 5: Repeat treatments for at least 2 weeks. Spider mite eggs are resistant to most treatments. You need multiple applications to catch newly hatched mites before they reproduce again.
Which Container Plants Are Most Vulnerable?
Spider mites attack a wide range of plants, but some are particularly susceptible — especially in hot, dry conditions:
- Tomatoes and peppers
- Roses and dahlias
- Herbs (especially basil and mint)
- Cucumbers and squash
- Citrus trees
- Most indoor houseplants in dry environments
If you grow any of these in containers, make a habit of checking the undersides of leaves every week or two during warm weather — especially during dry periods.
How to Prevent Spider Mites Coming Back
Spider mites love hot, dry conditions. Making your container garden less hospitable to them is the best long-term strategy.
- Keep humidity up. Mist plants occasionally during dry spells, or group containers together to create a more humid microclimate.
- Water consistently. Drought-stressed plants are much more vulnerable to spider mite infestations.
- Avoid dusty conditions. Dust on leaves creates ideal habitat for spider mites. Rinse foliage occasionally with water.
- Check new plants before bringing them home. Spider mites often hitch a ride on nursery plants. Inspect carefully before adding new plants to your collection.
- Don’t over-fertilize with nitrogen. Lush, fast-growing plant tissue from excess nitrogen is actually more attractive to spider mites.
Final Thoughts
Spider mites are frustrating, but they’re very manageable when you catch them early. The biggest mistake is waiting too long — by the time leaves are heavily damaged and the plant looks seriously unwell, you’re fighting a much harder battle.
Make weekly checks part of your routine during warm weather, especially on the undersides of leaves. A quick look takes seconds, and catching an infestation early means a few sprays of neem oil instead of weeks of intensive treatment. 🕷️
Dealing with spider mites on your container plants? Visit the Contact page — I’m happy to help!
— mumu, Green Garden Tips