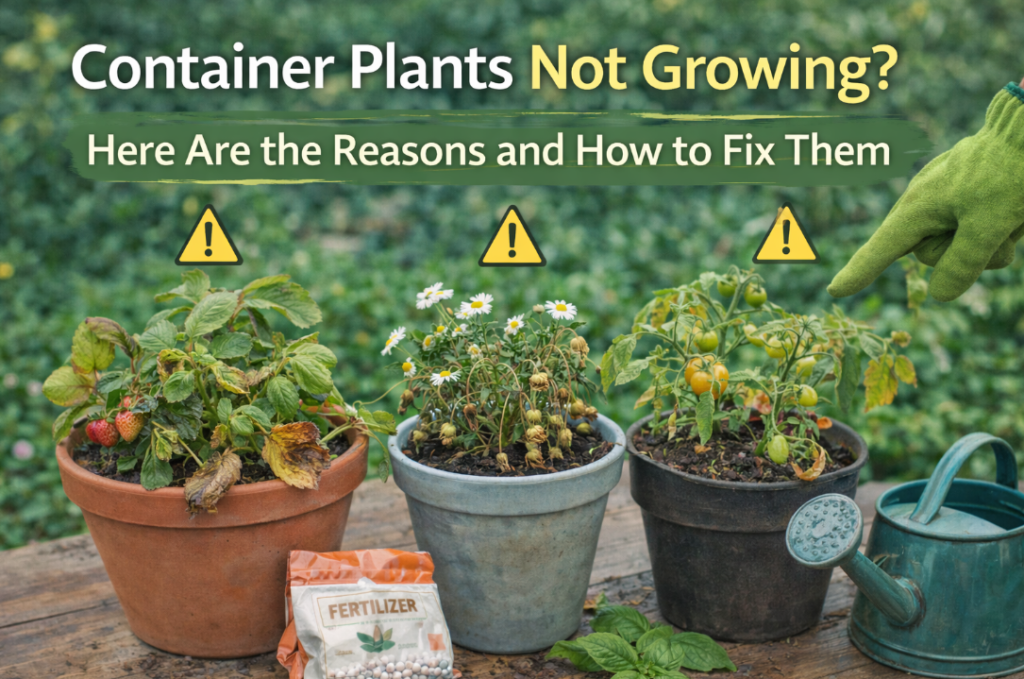
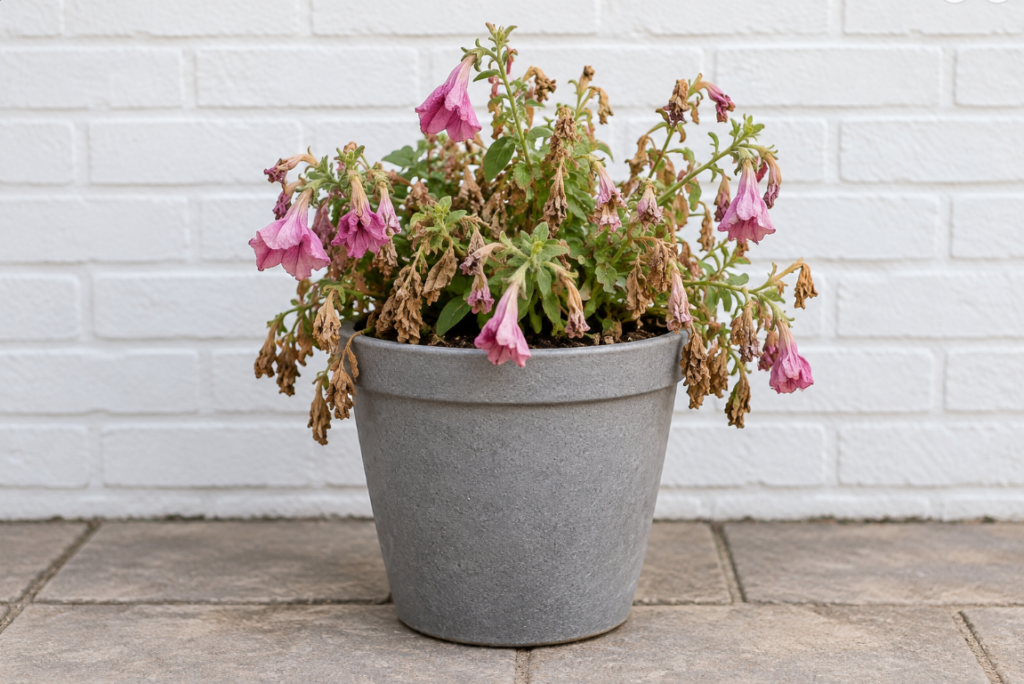
A container plant that suddenly starts wilting, turning yellow, dropping leaves, or slowing down can look as if it is dying. However, many struggling plants may improve when the underlying problem is identified and corrected before the damage becomes too severe.
The key is to diagnose the problem before making several changes at once. Adding more water, fertilizer, or sunlight without checking the cause first can make an already stressed plant worse.
This guide will help you check the most common causes of decline in container plants and decide what to do next.
Different problems can produce similar symptoms. Yellow leaves, for example, may be associated with watering problems, root stress, light conditions, nutrient availability, or the natural aging of older leaves.
Do not rely on one symptom alone. Look at the plant, the potting mix, and the growing environment together.
Plant roots need both moisture and oxygen. When potting mix stays saturated for too long, the amount of air around the roots decreases and the roots may become stressed.
- Pause watering until the potting mix has dried appropriately for the plant.
- Make sure excess water can drain freely.
- Empty standing water from saucers or decorative outer pots.
- Check that drainage holes are not blocked.
- If the plant continues to decline, inspect the roots.
Container plants can dry out faster than plants growing in the ground, especially during warm weather or when the container is small.
If the potting mix is extremely dry, water slowly so the mix has time to absorb moisture instead of allowing water to run straight through.
- Check whether the soil is dry below the surface.
- Water slowly and thoroughly.
- Allow excess water to drain.
- Reduce unnecessary heat or sun stress while the plant is severely wilted, if appropriate for the species.
- Check the soil again before watering a second time.
A root-bound plant has filled most of the available space inside its container with roots. The roots may circle tightly around the root ball or grow heavily through drainage holes.
- The container dries out unusually quickly.
- Roots are densely circling the root ball.
- Roots are growing heavily through drainage holes.
- Growth has slowed despite otherwise suitable conditions.
If the plant is clearly root-bound, move it to a slightly larger container and use fresh potting mix that is suitable for the plant.
Leaf color can provide useful clues, but it is not enough to identify a specific nutrient deficiency by itself.
Yellowing or pale growth may also be associated with watering problems, root stress, insufficient light, old potting mix, nutrient availability, or natural leaf aging.
If the plant has been growing in the same potting mix for a long time and has not been fertilized appropriately, a balanced fertilizer may be useful. Follow the product label rather than applying more than the recommended amount.
A plant that receives too little light may become pale, weak, or stretched as it grows toward the strongest available light source.
- Check the light requirements of the plant.
- Move the plant to brighter conditions gradually if necessary.
- Do not move a shade-grown plant directly into intense sun.
- For indoor plants, consider a suitable grow light if natural light is insufficient.
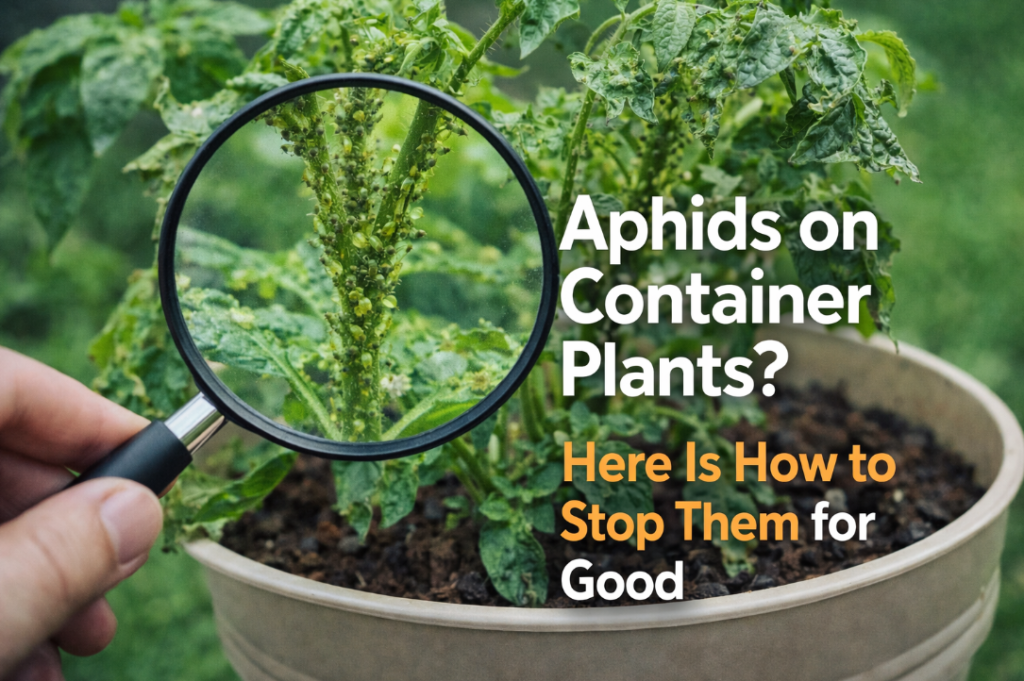
Inspect the undersides of leaves, new growth, stems, and leaf joints. Small pests can be difficult to notice until the plant begins showing damage.
- Visible insects
- Fine webbing
- Sticky residue
- Distorted new growth
- Clusters of insects around stems or growing tips
Identify the pest before choosing a treatment. Depending on the pest and plant, management may include physical removal, rinsing with water, insecticidal soap, or another product labeled for that pest and plant.
Root rot can develop when roots remain in wet, poorly aerated conditions for an extended period.
- Wilting while the potting mix remains wet
- Dark, soft, or decayed roots
- An unpleasant odor from the root zone
- Continued decline despite regular watering
If root rot is suspected, carefully remove the plant from its container and inspect the roots.
- Remove clearly soft or decayed roots with clean tools.
- Discard badly waterlogged potting mix.
- Repot the plant in fresh, well-draining potting mix.
- Use a clean container with open drainage holes.
- Adjust future watering according to the plant’s moisture needs.
Plants growing in containers can be affected quickly by temperature extremes because their roots are surrounded by a limited volume of potting mix.
After correcting the most likely problem, avoid making several additional changes at once. An already stressed plant benefits from stable growing conditions.
- Water according to the plant’s needs.
- Maintain suitable light conditions.
- Avoid unnecessary fertilizer while the plant is severely stressed.
- Remove only clearly dead or badly damaged tissue.
- Watch healthy new growth for signs of improvement.
Check drainage, watering, and root health.
Check soil moisture and watering.
Check roots, light, temperature, and feeding history.
Inspect for pests.
Check drainage and root condition.
A struggling container plant is not always beyond recovery. The best approach is to identify the underlying problem before adding more water, fertilizer, or other treatments.
Check the soil, drainage, roots, light, temperature, pests, and recent changes in care. Then correct only the problems you can actually identify.
If healthy roots or living stems remain, careful changes in watering, soil, light, or pest management may help the plant produce healthy new growth again.