By mumu
Bell peppers are one of those container vegetables that genuinely thrive in pots — sometimes even better than in the ground. They love warm soil, which containers provide naturally, and their compact root systems don’t need as much space as you might think.
The catch? Bell peppers are slow. From transplant to first ripe pepper can take 70–90 days. But once they start producing, a single well-grown plant can give you peppers all the way through to the first frost. Here’s how to grow them successfully in containers.
Why Containers Actually Work Well for Bell Peppers
Most people assume vegetables do better in the ground than in pots. With bell peppers, containers have some genuine advantages.
Pot soil warms up faster in spring — and peppers love warm roots. You can also move containers to follow the sun, position them against a warm wall that reflects heat, and bring them indoors if an early frost threatens while peppers are still ripening. That kind of flexibility is hard to beat.
The key is using a large enough container and staying on top of watering, since pots dry out faster than garden beds.
Choosing the Right Variety
Almost any bell pepper variety works in containers, but compact types make management easier. Here are some reliable options:
- Redskin — Compact, prolific, produces full-sized red peppers on a small plant. One of the best container varieties available.
- Mohawk — Yellow bell pepper, compact plant, very productive. Great flavor.
- Pot-a-Peno — Specifically developed for container growing. Produces well in 5-gallon pots.
- California Wonder — The classic supermarket bell pepper. Works well in 10-gallon containers.
- Lipstick — Actually a pimento-style pepper but behaves like a bell. Very sweet, compact, and reliable in pots.
Container Size and Setup
Bell peppers need more root space than most people give them. A 5-gallon pot is the absolute minimum — one plant per container. For better results and more forgiving watering, a 10-gallon container makes a noticeable difference.
Use a rich, well-draining potting mix. Bell peppers are heavy feeders and need fertile soil from the start. A mix with added compost is ideal. Make sure the container has good drainage holes — peppers don’t tolerate waterlogged roots.
Dark-colored containers absorb heat, which peppers love. If you’re using light-colored pots, consider placing them against a south-facing wall to maximize warmth.
| Container Size | Best For | Notes |
|---|---|---|
| 5 gallons | Compact varieties | Minimum size — needs careful watering |
| 10 gallons | Most varieties | Recommended — more forgiving |
| 15+ gallons | Standard varieties | Best results, largest harvest |
Sun, Warmth, and Watering
Bell peppers need full sun — at least 6 hours, and 8 is better. They also need warmth. Don’t rush to get them outside in spring. Wait until nighttime temperatures are consistently above 55°F (13°C). Peppers planted in cold soil sulk and barely grow.
Once established, water when the top inch of soil feels dry. Consistent moisture is important — wildly inconsistent watering causes blossom end rot and cracked fruit. In hot summer weather, you may need to water every day.
Mulching the soil surface helps retain moisture and keeps roots from overheating on really hot days.
Feeding Your Pepper Plants
Bell peppers are hungry plants, especially in containers where nutrients wash out with regular watering.
During early growth, use a balanced fertilizer every 2 weeks. Once flowers appear, switch to a high-potassium fertilizer (like a tomato feed) — this encourages fruit development rather than leafy growth. Keep feeding every 1–2 weeks right through the harvest season.
One thing to avoid: too much nitrogen once flowering starts. It produces beautiful, lush plants with disappointing fruit set.
Getting from Flowers to Peppers
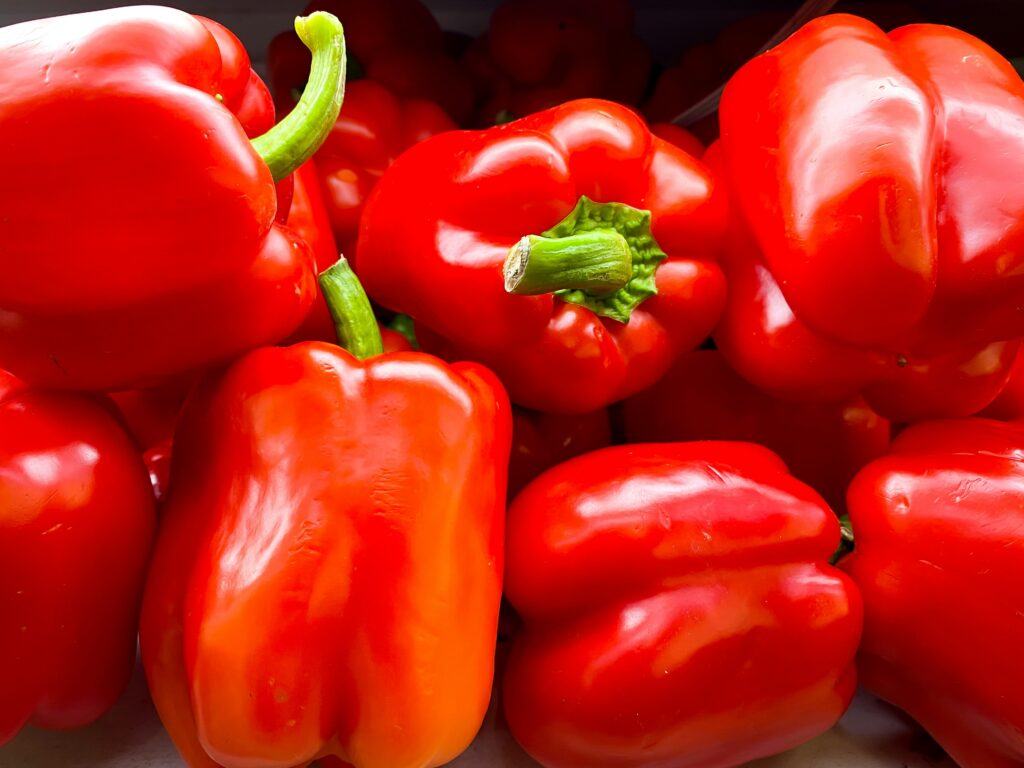
Bell peppers start out green and ripen to red, yellow, or orange depending on the variety. Green peppers are just unripe bell peppers — perfectly edible, slightly more bitter. Fully colored peppers are sweeter and more nutritious, but they take longer and the plant uses more energy to ripen them.
If you want more peppers overall, harvest some green. If you want the sweetest flavor, wait for full color. Most people do a mix of both.
Harvest by cutting the stem rather than pulling — pulling can damage the plant. Regular harvesting encourages more fruit production.
A Few Common Problems
| Problem | Most Likely Cause | Fix |
|---|---|---|
| Flowers dropping | Temperature too cold or too hot, or inconsistent watering | Keep temps 65–85°F, water consistently |
| Black sunken patch on bottom of fruit | Blossom end rot — calcium issue from inconsistent watering | Water more consistently, mulch soil surface |
| Aphids clustering on new growth | Very common on peppers | Blast with water, apply insecticidal soap |
| Slow to ripen | Not enough heat or sun | Move to warmest, sunniest spot available |
Final Thoughts
Bell peppers reward patience. They’re slow starters, and it can feel like nothing is happening for weeks. But once they get going in warm weather, the production really picks up — and there’s something deeply satisfying about watching a green pepper slowly turn red or yellow on your own balcony.
Give them warmth, sun, consistent water, and regular feeding, and they’ll produce right through to fall. Worth every bit of the wait. 🫑
Growing bell peppers in containers? I’d love to hear how it’s going — visit the Contact page!
— mumu, Green Garden Tips