By mumu
Fresh dill is one of those herbs that completely transforms cooking. The feathery, fragrant fronds add a distinctive flavor to fish, salads, pickles, eggs, and so much more — and fresh dill from your own pot tastes incomparably brighter and more vibrant than anything dried or store-bought.
Growing dill in a pot is straightforward once you understand its one key characteristic — it grows tall and doesn’t like root disturbance, so it needs a deep container and should be sown directly rather than transplanted. Here is everything you need to know.
Table of Contents
- Best Dill Varieties for Pots
- Choosing the Right Container
- Best Soil for Container Dill
- How to Plant Dill in Containers
- Sunlight Requirements
- How to Water Dill in Pots
- How to Fertilize Container Dill
- Managing Dill Bolting
- How to Harvest Dill from Pots
- Common Problems and Solutions
1. Best Dill Varieties for Pots
| Variety | Height | Best For | Notes |
|---|---|---|---|
| Fernleaf Dill | 18–24 inches | Containers, small spaces | Best container variety — compact, slow to bolt, very productive |
| Bouquet Dill | 36–48 inches | Larger containers | Classic dill — needs deep container, excellent flavor |
| Dukat Dill | 24–36 inches | Medium containers | Slow to bolt, excellent leaf production, strong flavor |
| Mammoth Dill | 48–60 inches | Very large containers only | Tall variety — needs large deep container and support |
Best choice for beginners: Fernleaf Dill — specifically developed for container growing, stays compact, and is much slower to bolt than standard varieties.
2. Choosing the Right Container
Depth is the most critical factor when choosing a container for dill. Dill develops a long taproot that needs adequate space to grow — a shallow container causes the plant to bolt quickly and produce less.
| Variety | Minimum Container Depth | Minimum Width |
|---|---|---|
| Fernleaf (compact) | 10–12 inches deep | 8–10 inches wide |
| Dukat / Bouquet | 12–14 inches deep | 10–12 inches wide |
| Mammoth (tall) | 16+ inches deep | 12+ inches wide |
Key tip: Always use containers with drainage holes. Dill does not tolerate waterlogged soil and will bolt or develop root rot quickly if drainage is poor.
3. Best Soil for Container Dill
Dill prefers light, well-draining soil that doesn’t hold too much moisture. Heavy or compacted soil causes poor growth and encourages the taproot to struggle.
Best soil mix for container dill:
- 60% high-quality potting mix
- 20% perlite (for drainage)
- 20% compost (for gentle nutrients)
Dill prefers a slightly acidic to neutral soil pH of 5.5–6.5. Most quality potting mixes fall within this range naturally.
4. How to Plant Dill in Containers
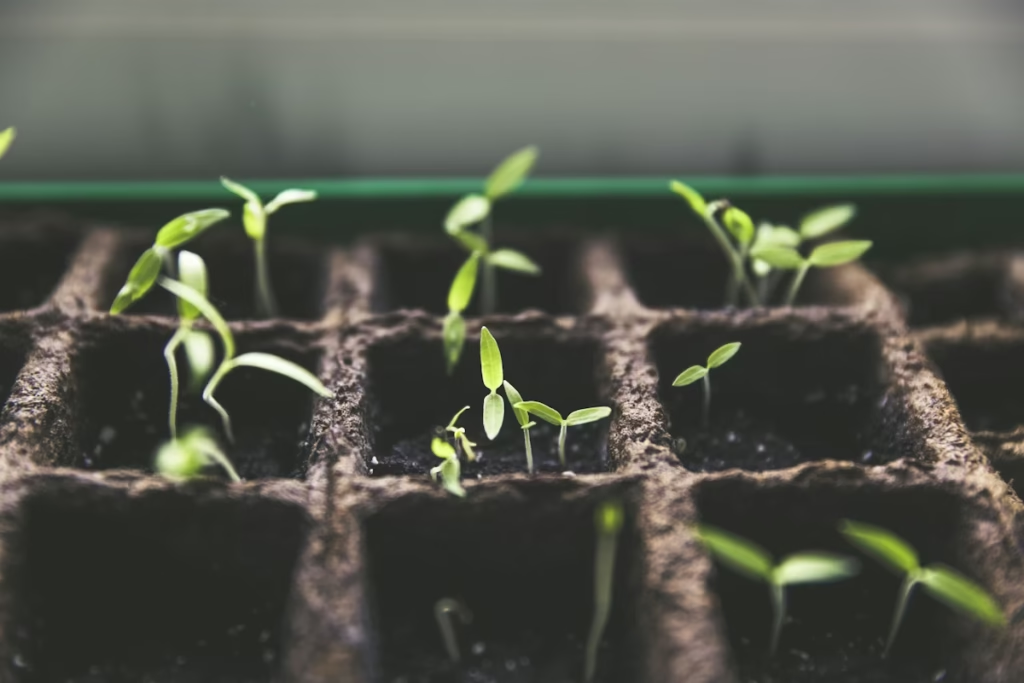
Important: Always sow dill directly in its final container — never start in seed trays and transplant. Dill has a long taproot that is easily damaged by transplanting, causing the plant to bolt immediately.
- Fill the container with prepared soil mix to within 1 inch of the rim
- Scatter seeds thinly across the surface — dill seeds are flat and can be sown by hand
- Cover with a very thin layer of soil — just 1/8 inch
- Water gently with a fine mist
- Keep soil consistently moist until germination — usually 7–14 days
- Thin seedlings to 6–8 inches apart once they reach 2 inches tall
Succession planting tip: Sow a new batch of dill seeds every 2–3 weeks from early spring through midsummer for a continuous supply of fresh dill all season.
5. Sunlight Requirements
| Sunlight | Result |
|---|---|
| 6–8 hours direct sun | Ideal — compact growth, strong flavor |
| 4–6 hours direct sun | Acceptable — slightly slower growth |
| Less than 4 hours | Poor — leggy, weak growth, mild flavor |
Key tip: In hot summer weather, move dill containers to a spot with afternoon shade. Intense heat accelerates bolting — partial afternoon shade keeps dill producing longer.
6. How to Water Dill in Pots
- Keep soil consistently moist but never waterlogged
- Water when the top inch of soil feels dry
- Water at the base — wet foliage can encourage fungal issues
- In hot weather, check every 1–2 days — dill dries out quickly
- Drought stress is a major trigger for bolting — consistent moisture keeps dill productive longer
- Reduce watering in cooler weather
7. How to Fertilize Container Dill
Dill is a light feeder that needs minimal fertilizing. Over-fertilizing — especially with nitrogen — produces lush, fast-growing plants that bolt quickly and have reduced flavor.
| Detail | Recommendation |
|---|---|
| Best fertilizer | Balanced liquid fertilizer at half strength |
| Frequency | Every 4–6 weeks — dill rarely needs more |
| What to avoid | High-nitrogen fertilizers — accelerate bolting and reduce flavor |
8. Managing Dill Bolting
Bolting — when dill sends up a flower stalk — is inevitable, but you can delay it significantly with the right management.
How to slow bolting:
- Choose slow-bolt varieties like Fernleaf or Dukat
- Provide afternoon shade in hot summer weather
- Water consistently — drought stress triggers bolting
- Harvest regularly — frequent harvesting slows the plant’s progression to flowering
- Succession sow every 2–3 weeks — when one batch bolts, the next is ready
When dill bolts: Don’t pull it up immediately. The yellow flowers attract beneficial insects like lacewings and parasitic wasps. And the seeds that follow are coriander — a valuable spice in their own right. Let some plants go to seed, collect the seeds, and use them for cooking or next year’s planting.
9. How to Harvest Dill from Pots
- Begin harvesting once plants reach 8–10 inches tall
- Cut outer fronds at the base of the stem, leaving the central growing point intact
- Never remove more than one-third of the plant at once
- Harvest in the morning for the most flavorful fronds
- Use fresh immediately — dill loses its flavor quickly after cutting
Storing fresh dill:
- Wrap in a damp paper towel and refrigerate — keeps for up to a week
- Stand stems in a glass of water like flowers — keeps for 3–5 days
- Freeze in ice cube trays with water for long-term storage
- Dry by hanging bundles upside down in a warm, airy spot — though dried dill loses much of its fresh flavor
10. Common Problems and Solutions
| Problem | Cause | Solution |
|---|---|---|
| Bolting quickly | Heat, drought, or shallow container | Choose Fernleaf variety, provide shade, water consistently, use deep container |
| Leggy, weak growth | Insufficient light | Move to brighter spot with at least 6 hours of sun |
| Poor germination | Soil too wet, too dry, or temperature too cold | Keep soil evenly moist, sow when temperatures are above 60°F (15°C) |
| Aphids on foliage | Common pest on dill | Spray with water or insecticidal soap |
| Caterpillars on leaves | Swallowtail butterfly larvae — they love dill | Hand pick or relocate — swallowtail caterpillars become beautiful butterflies |
Final Thoughts
Growing dill in a pot is one of the most rewarding herb gardening projects you can take on. Fresh dill adds a brightness and freshness to cooking that no dried herb can replicate — and once you’ve used it fresh from your own container, you’ll always want it close at hand.
Choose Fernleaf dill for the best container results, sow directly in a deep pot, keep it consistently moist, and succession plant every few weeks. Do those things and you’ll have fresh, fragrant dill available whenever your cooking needs it. 🌿
Have questions about growing dill in containers? Visit the Contact page — I’d love to hear from you!
— mumu, Green Garden Tips